Within the designer interface there are 2 macro controls found on the Perform Page, as well as in the footer. Each of these macro controls can be assigned to multiple parameters within the interface and used to adjust all of them at once. This is known as Macro Modulation. To set up macro modulation on a parameter, do the following:
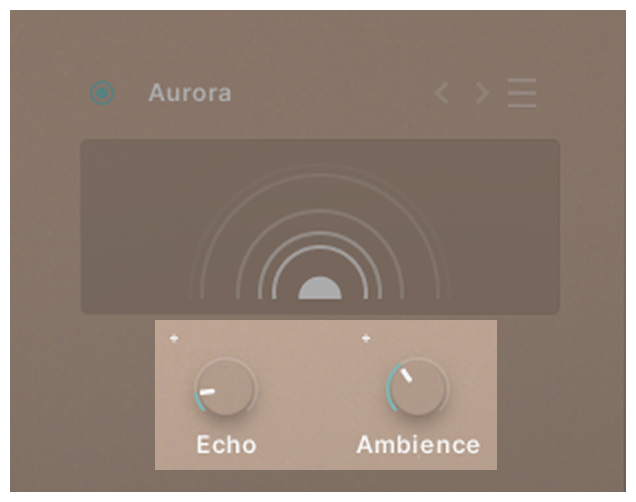
1. Click the Assign button found in the footer. This button can be found on every page.
2. All parameters that can be modulated will now have a ‘+’ next to them.
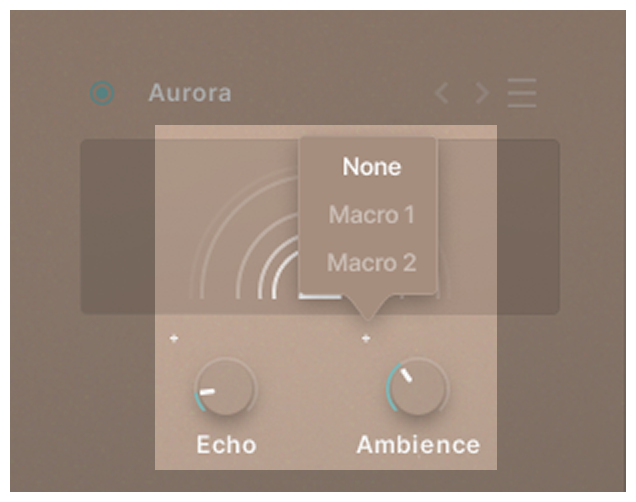
3. Clicking this ‘+’ will reveal an option to assign that parameter to either Macro 1 or Macro 2.
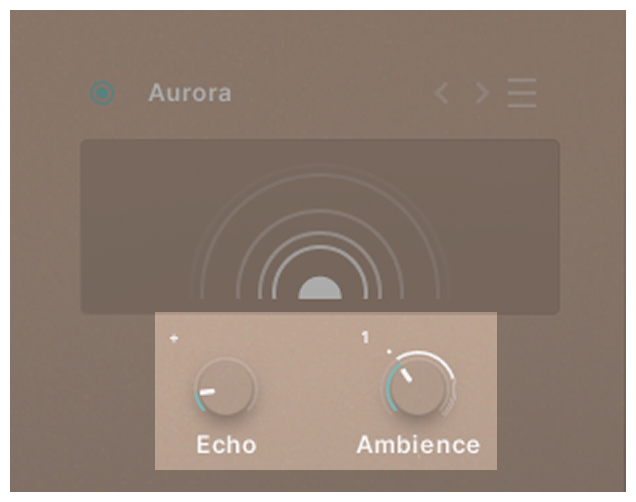
4. Selecting Macro 1 will replace the ‘+’ with a ‘1’ symbol. Drag up and down on this symbol to assign modulation to that parameter.
For positive modulation, the knob position displays the minimum value, whilst the end of the white line displays the maximum value.
This is reversed for negative modulation.
5. You have now assigned modulation, meaning that when macro 1 is moved, all parameters assigned to it will also move according to their modulation values. The dot displays your current parameter value when controlled via a Macro.
To change or remove the modulation, click on the ‘1’ icon and select either Macro 2 or None. Clicking ‘None’ will remove your modulation.