Installation
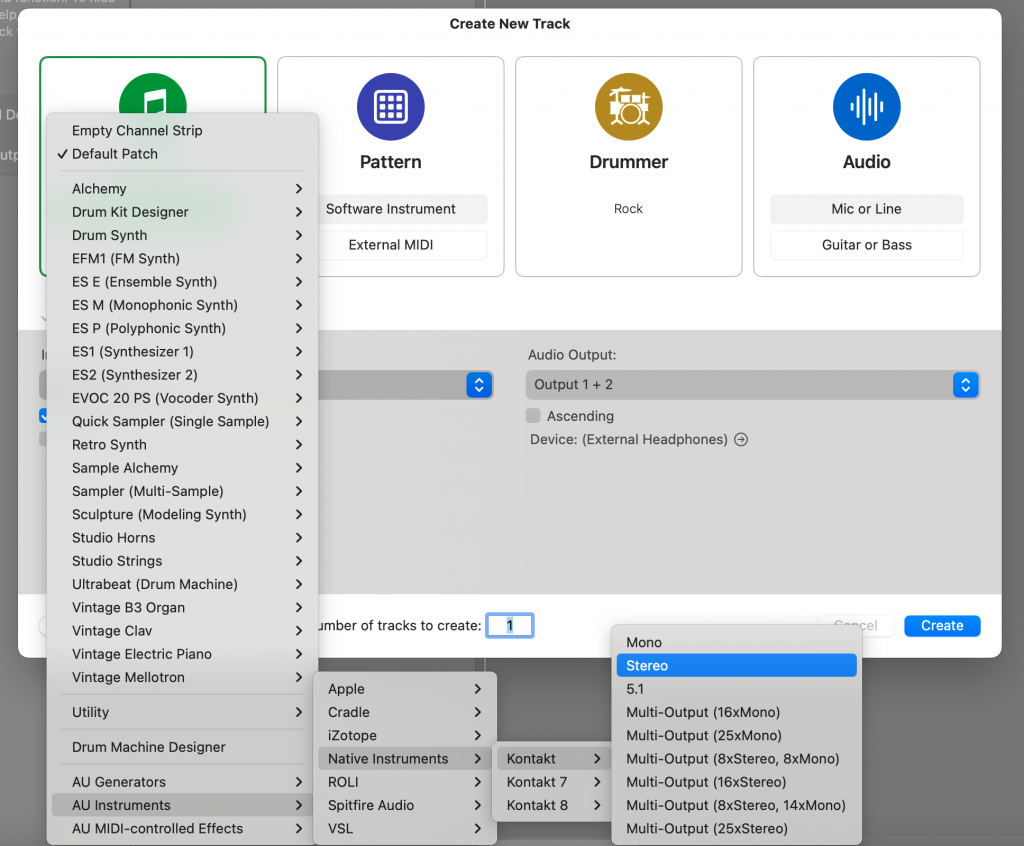
Loading my product in Logic Pro X
Loading my product in Cubase
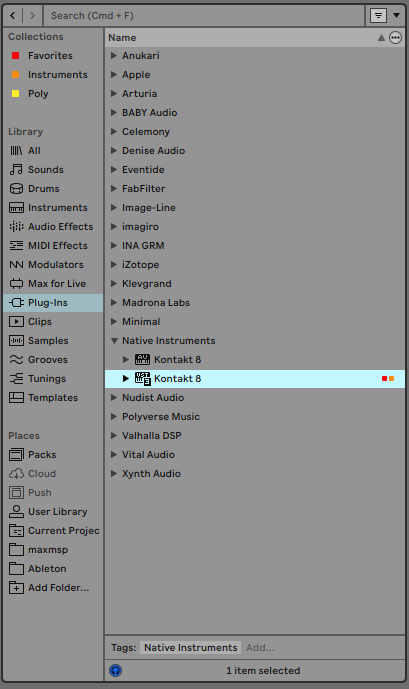
Loading my product in Ableton Live
Getting Started
Pyramid
Do I need to download Pyramid?
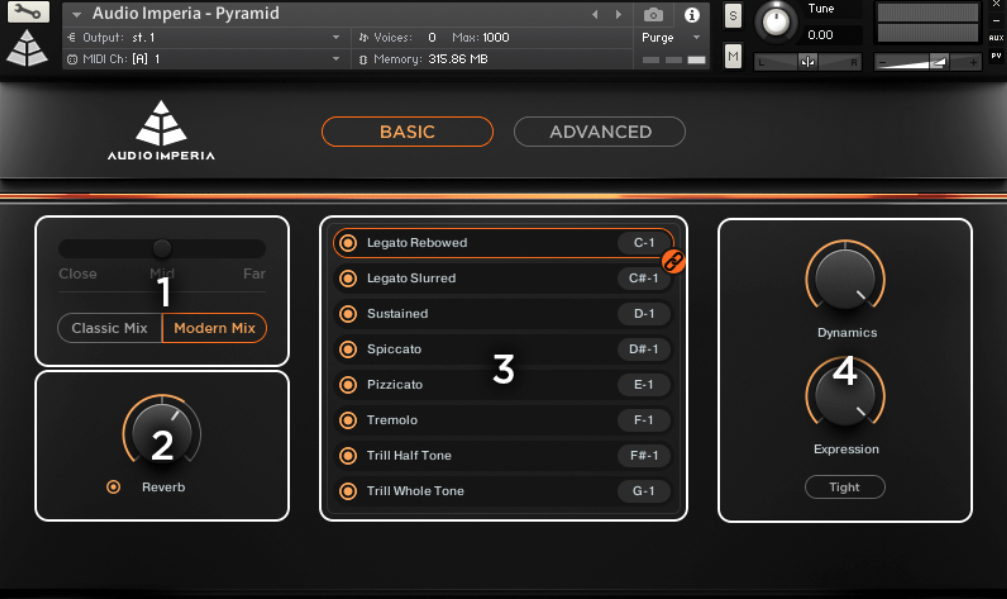
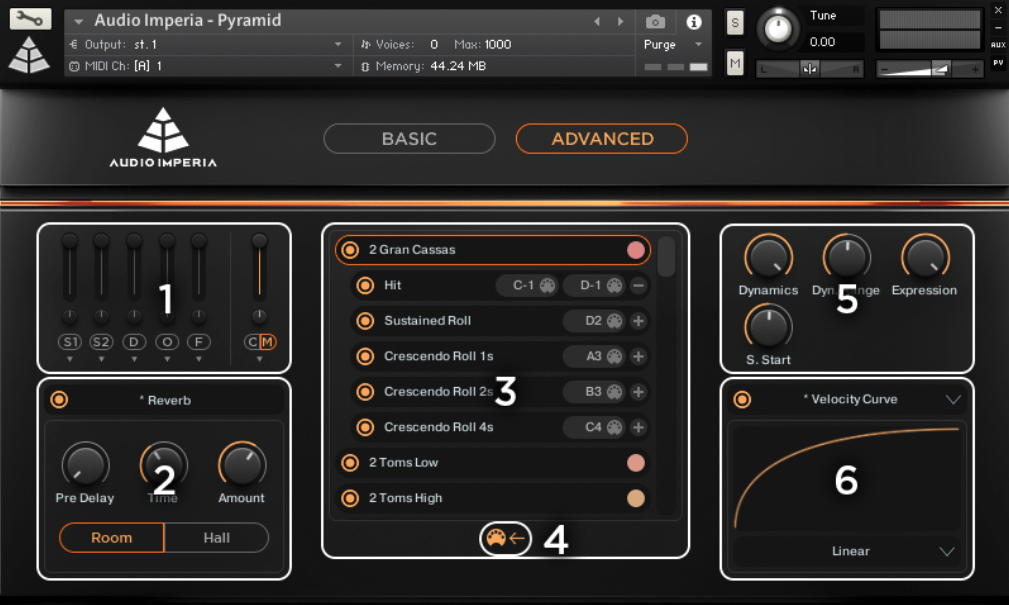
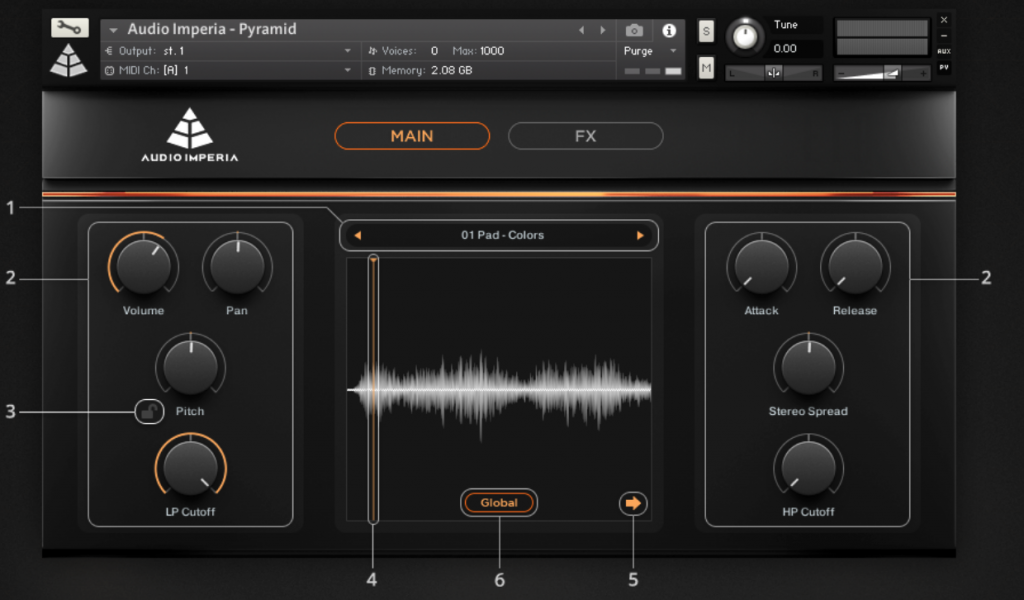
Patch Layout
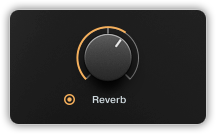
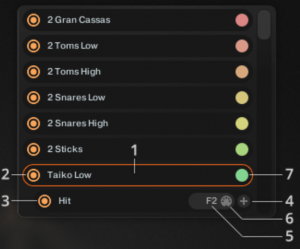
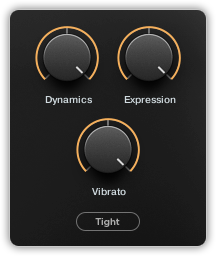
1. Mixer (Basic), 2. Reverb (Basic), 3. Instruments / Articulations (Basic), 4. Select by MIDI, 5. Controllers (Basic).
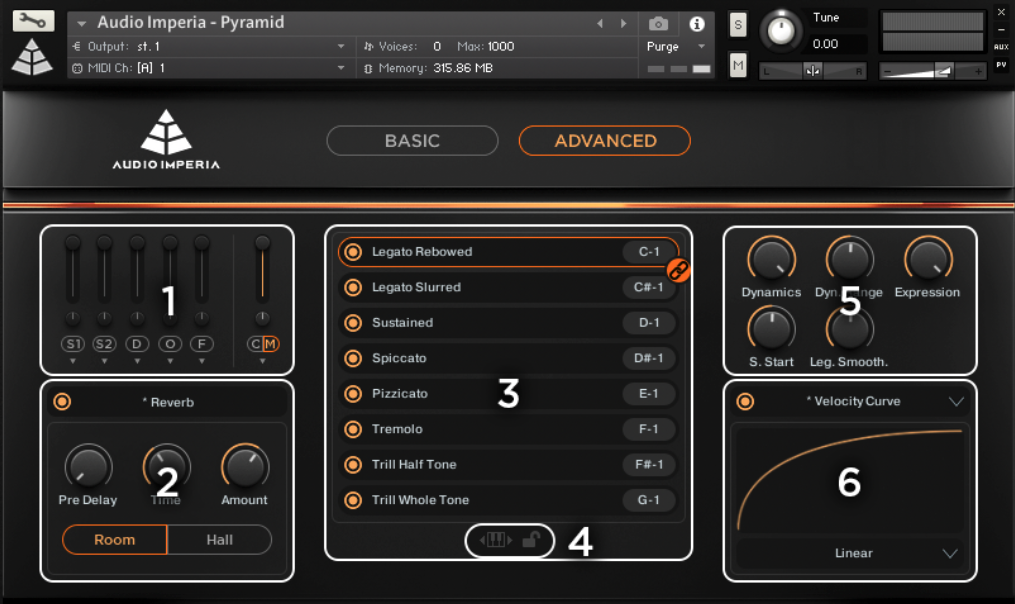
1. Mixer (Advanced), 2. Reverb (Advanced), 3. Instruments / Articulations (Advanced), 4. Select by MIDI, 5. Controllers (Advanced), 6. Options.
How do I update my product?
FAQ
Do I need to download Pyramid?
What is Pyramid?
Poseidon Sound Design
FAQ: What is the Photosynthesis Engine?
FAQ: What is the Photosynthesis Engine?
Overview
Patch Layout
1. Mixer (Basic), 2. Reverb (Basic), 3. Instruments / Articulations (Basic), 4. Select by MIDI, 5. Controllers (Basic).
1. Mixer (Advanced), 2. Reverb (Advanced), 3. Instruments / Articulations (Advanced), 4. Select by MIDI, 5. Controllers (Advanced), 6. Options.
Do I need to download Pyramid?
What are crossgrades?
Downloads and Installation
Desktop App & Manual
Journey To Becoming a Composer
MIDI Files
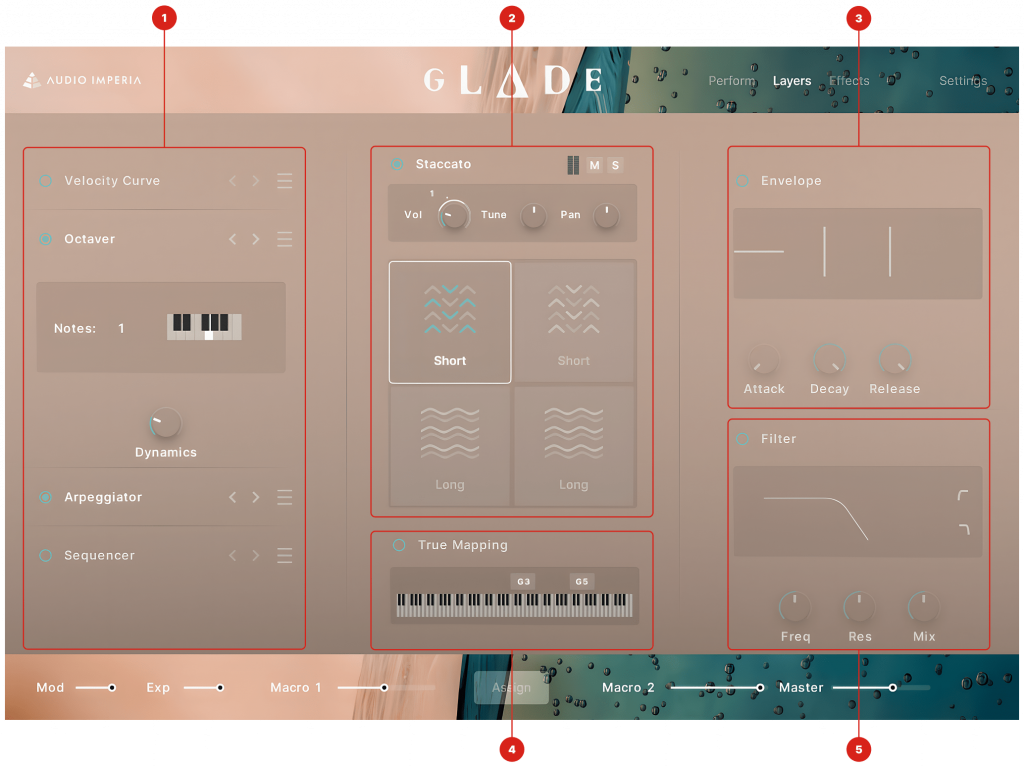
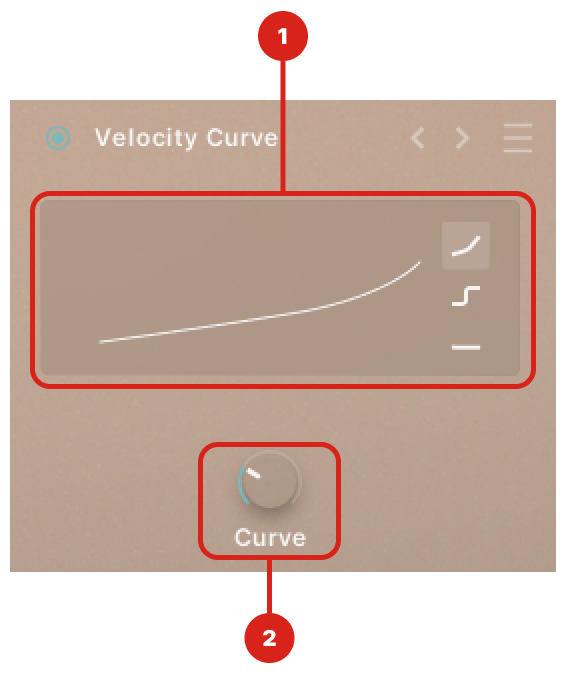
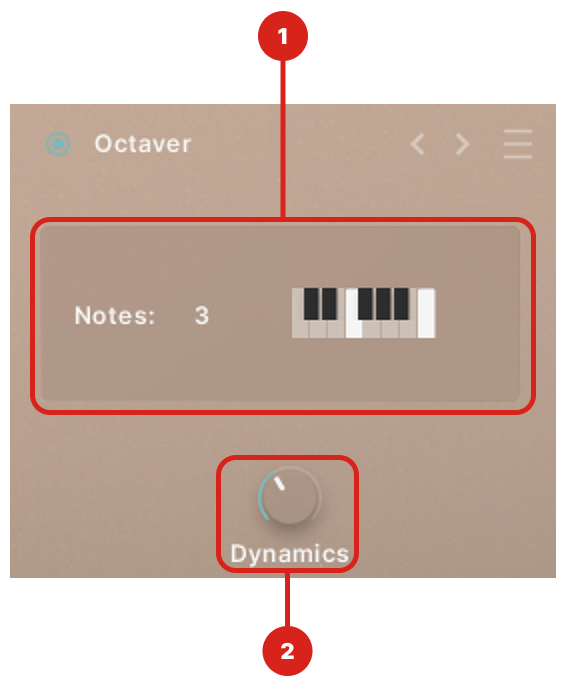
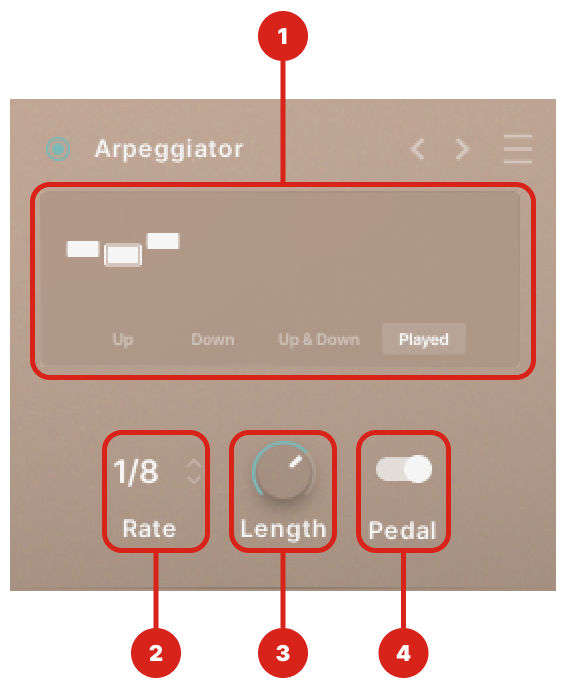
Layers Page
Designer Interface
Designer Interface Overview
Loading my product in Logic Pro X
FAQs
How do I update my product?
Native Access System Requirements
How do I crossgrade and what products are eligible?
Download & Installation
Loading my product in Logic Pro X
Loading my product in Cubase
Loading my product in Ableton Live
How do I update my product?
Native Access System Requirements
How do I crossgrade and what products are eligible?
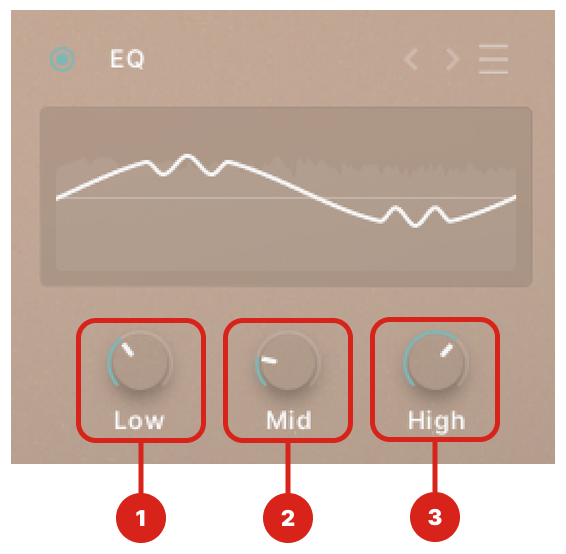
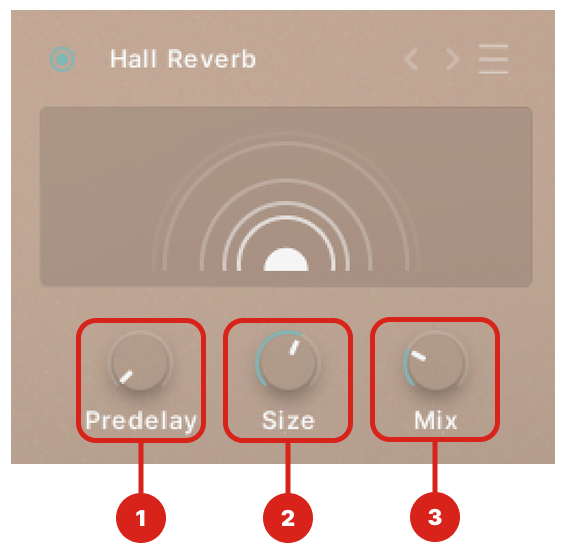
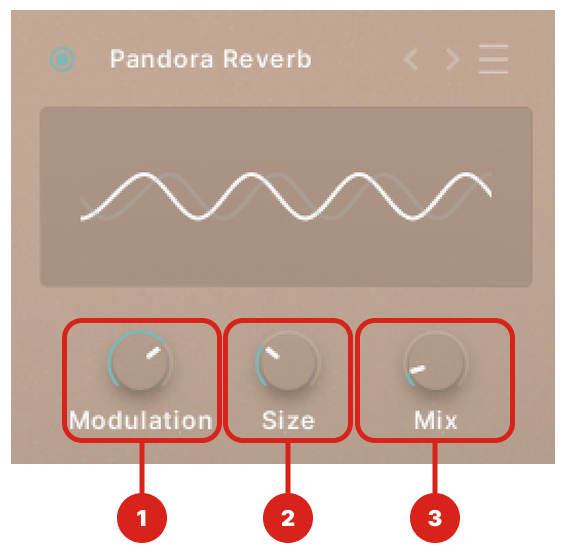
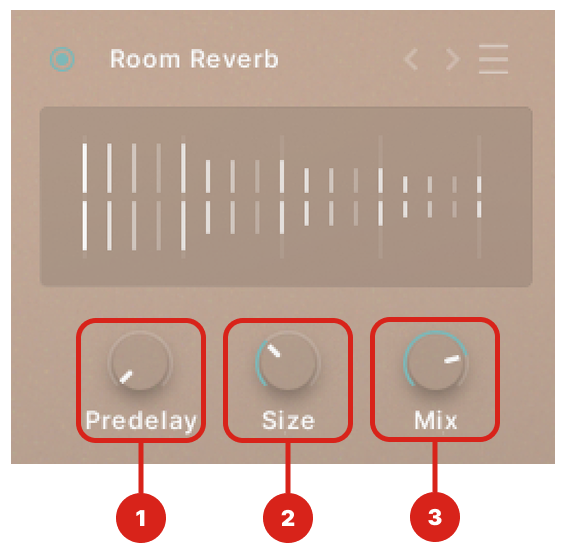
Effects Page
Maestro
FVDE
Downloads and Installation
Native Access System Requirements
Loading my product in Cubase
Multisamples
Orchestral
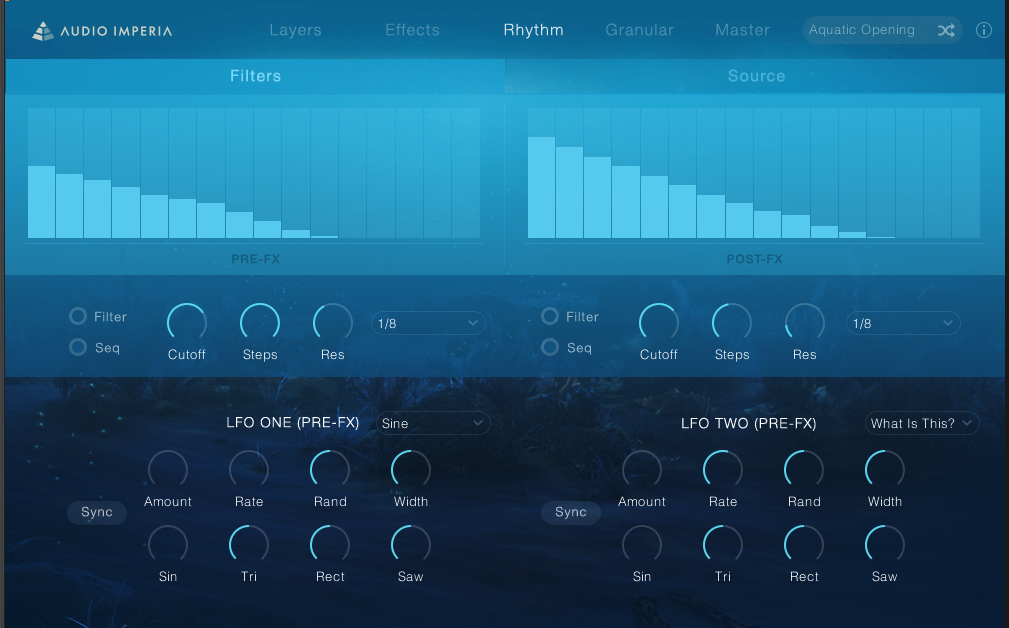
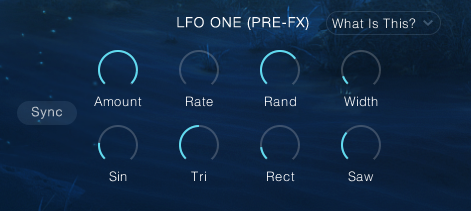
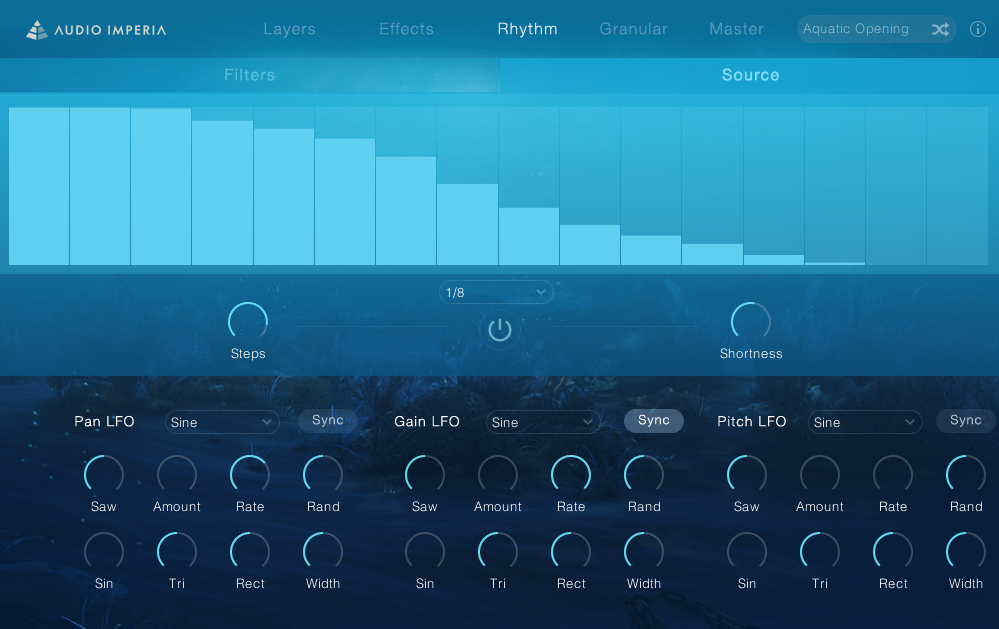
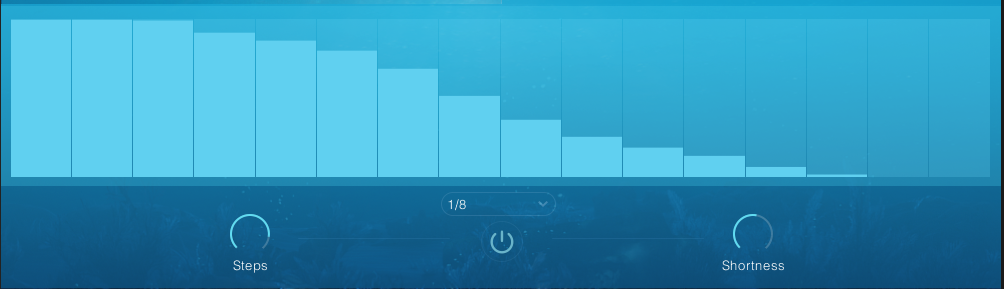
Rhythm Page
Loading my product in Ableton Live
Patch Layout
1. Mixer (Basic), 2. Reverb (Basic), 3. Instruments / Articulations (Basic), 4. Select by MIDI, 5. Controllers (Basic).
1. Mixer (Advanced), 2. Reverb (Advanced), 3. Instruments / Articulations (Advanced), 4. Select by MIDI, 5. Controllers (Advanced), 6. Options.
Sound Design
How do I crossgrade and what products are eligible?
Learning
Journey To Becoming a Composer
Other Interfaces
FAQ: What is the Photosynthesis Engine?
Designer Interface Overview
Mixer
Granular Page
Reverb
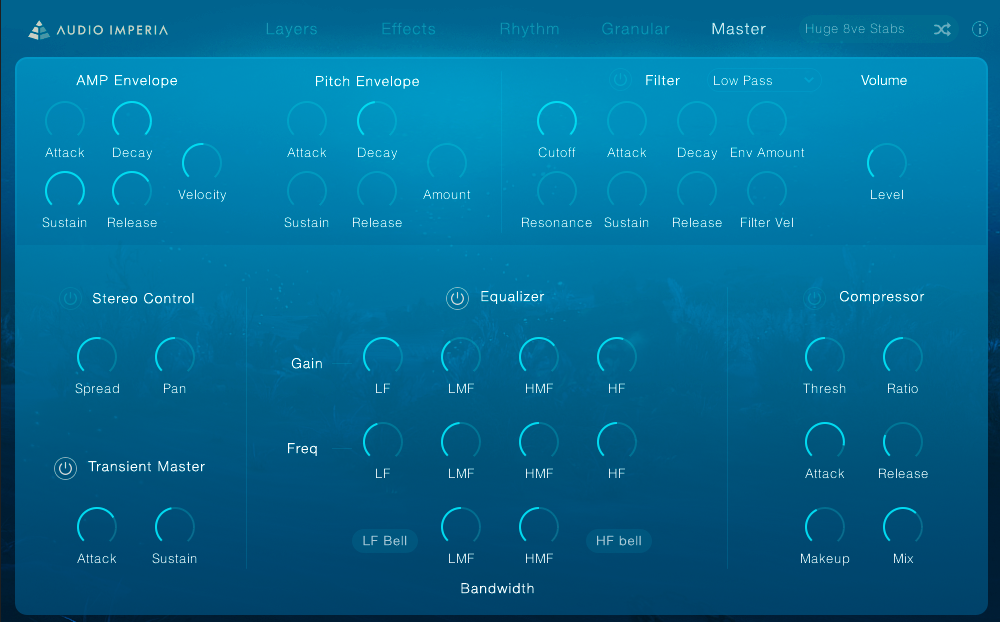
Master Page
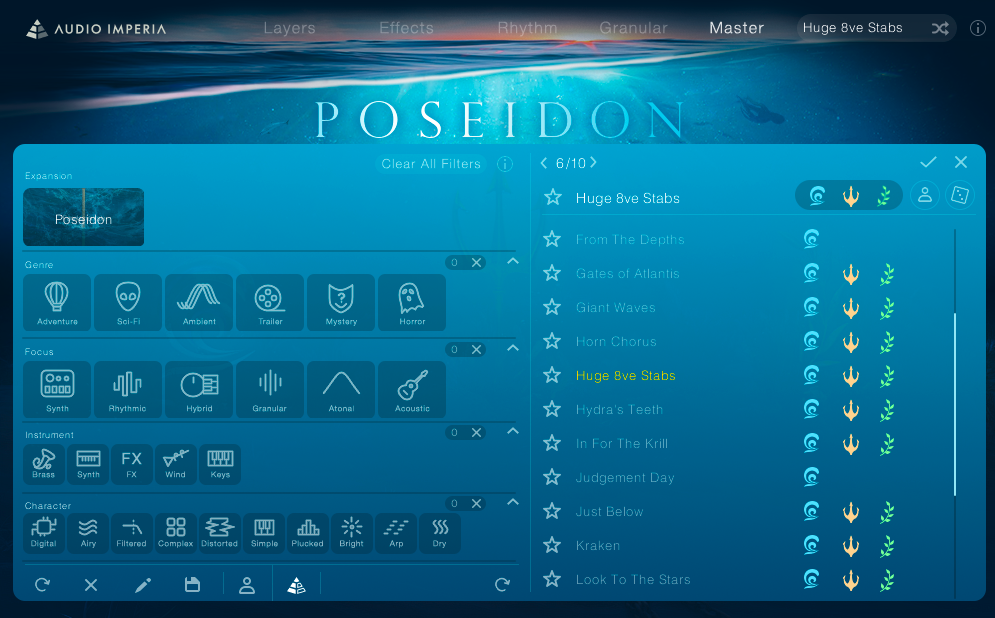
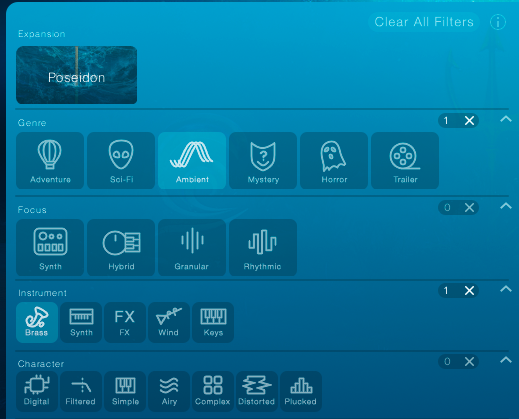
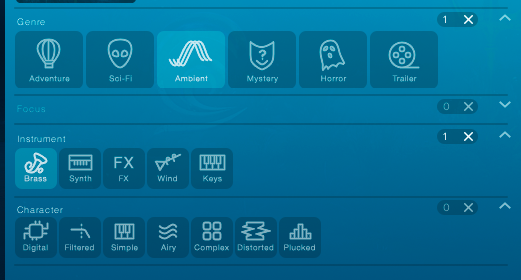
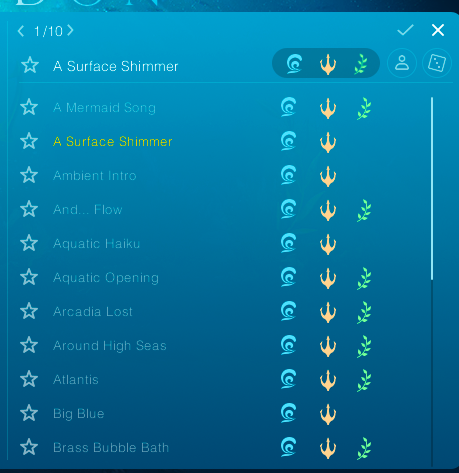
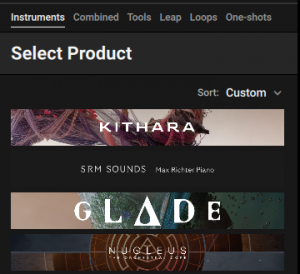
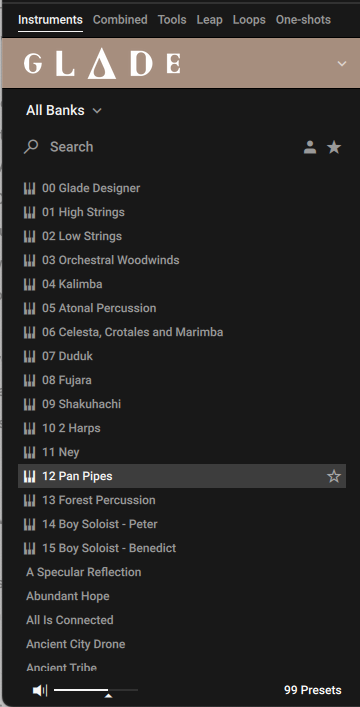
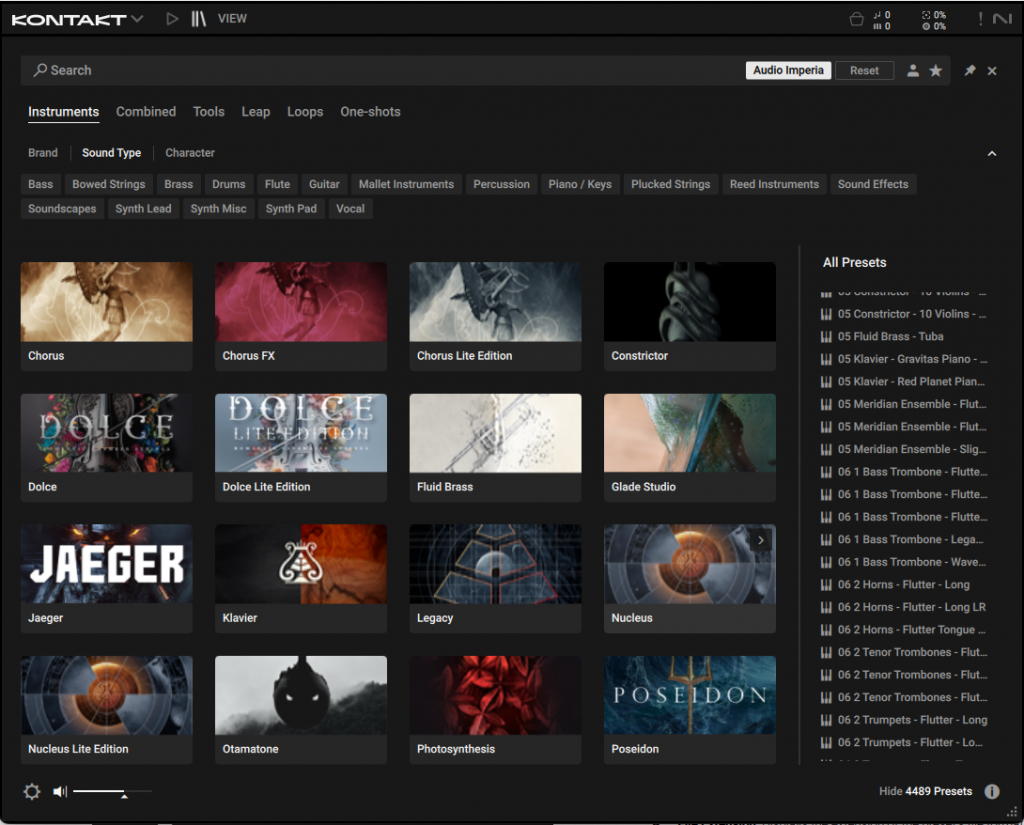
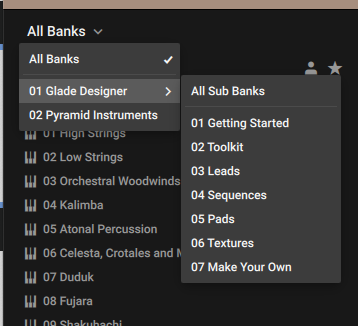
Preset Browser
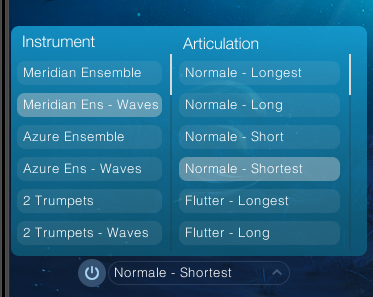
Articulations
Designer Interface Overview
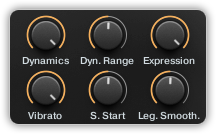
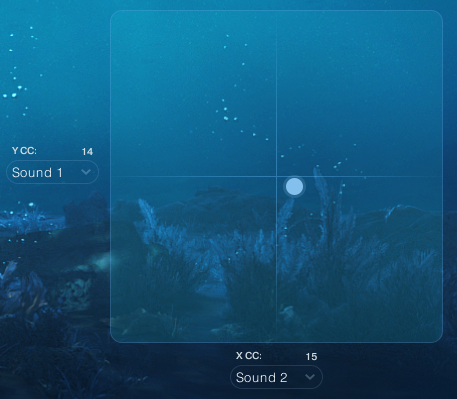
Controllers
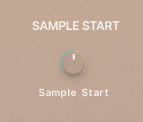
Sample Start
Loading Designer Presets
Options
Source Browser
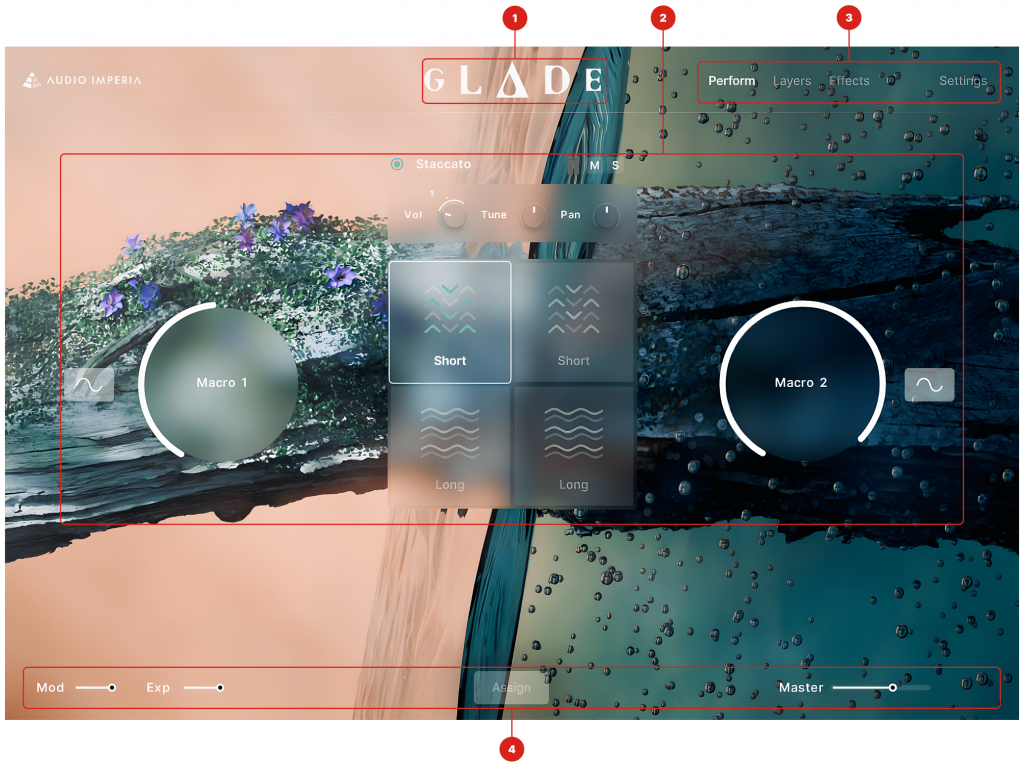
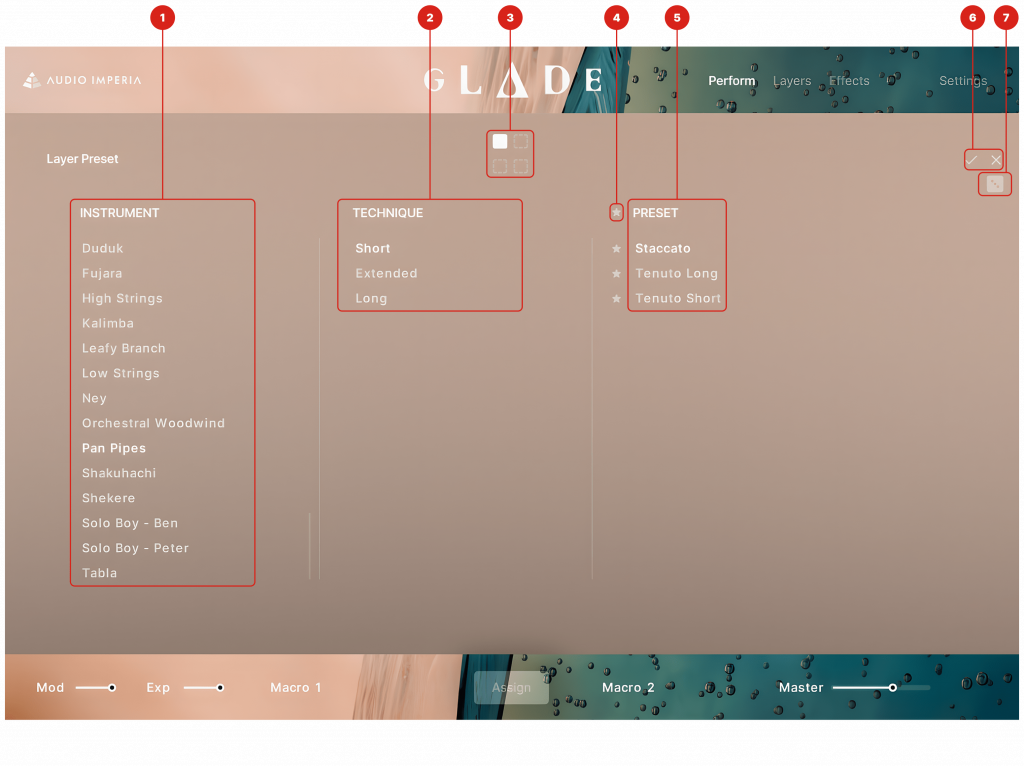
Perform Page
Interface
Layers Page
Effects Page
Settings Page
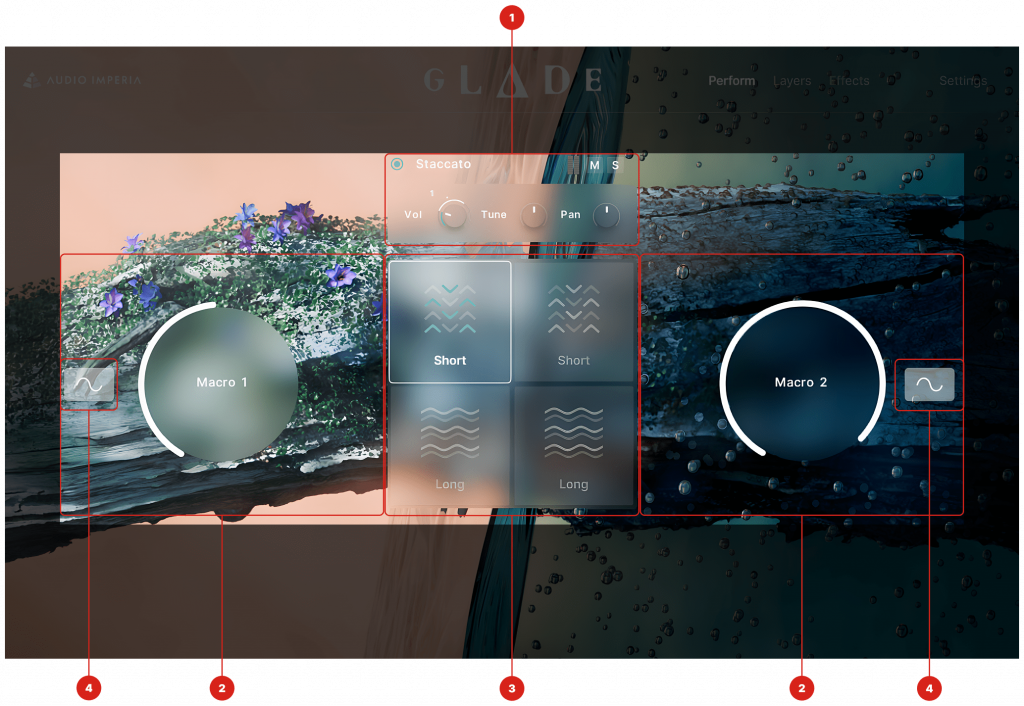
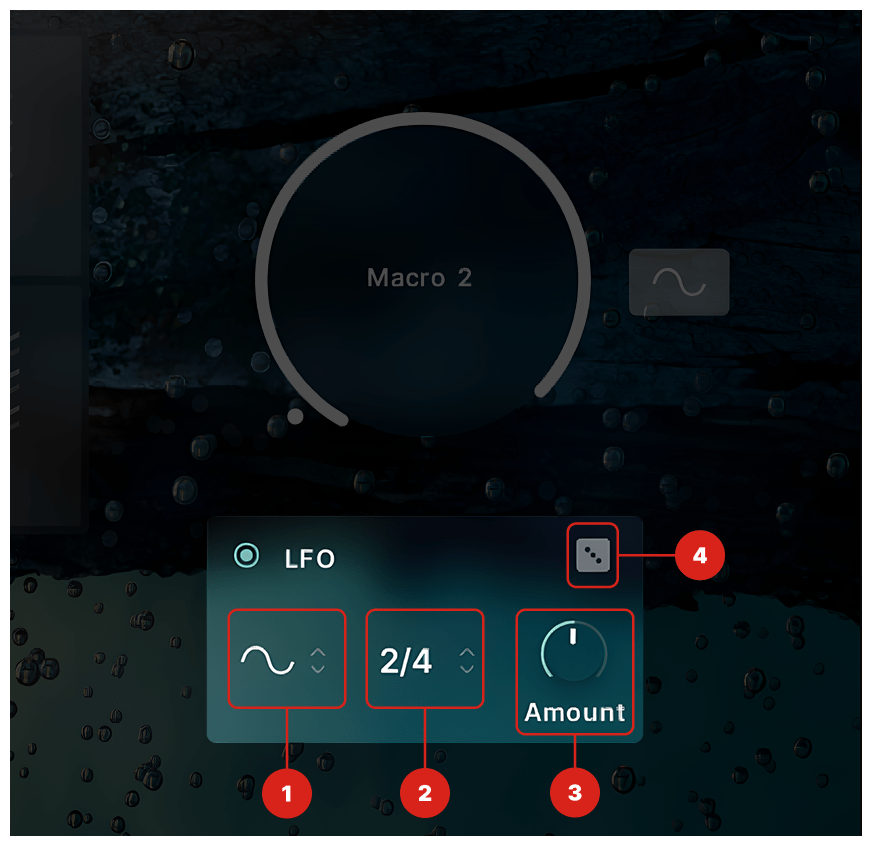
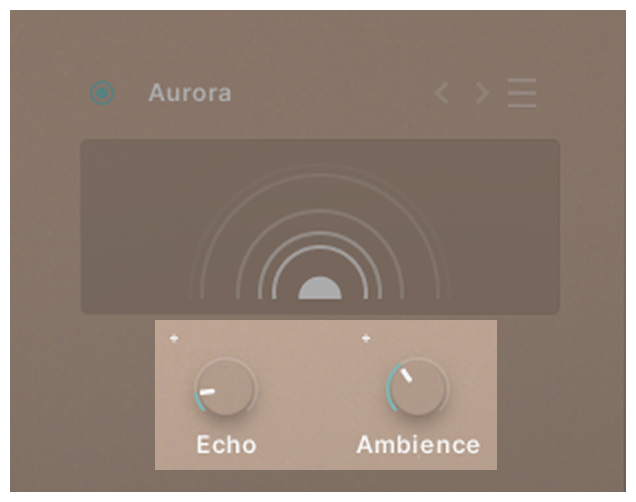
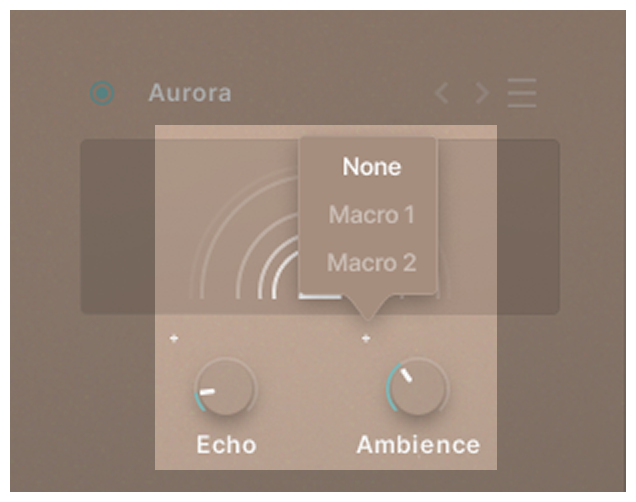
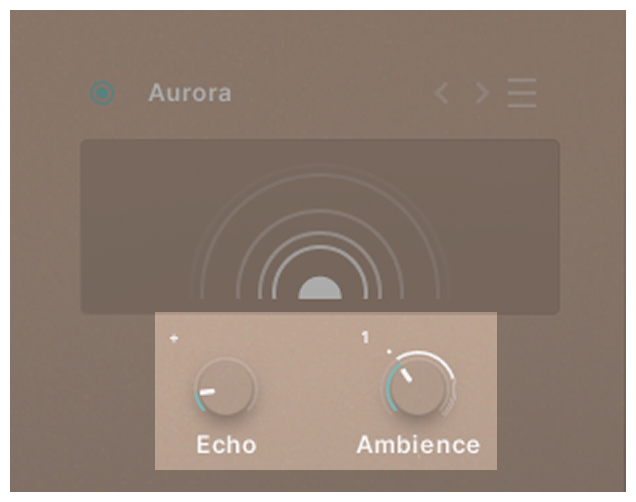
Macro Modulation